

Editor in the bluetronix CMS – professionally edit text, layouts, and content
In this tutorial, you will learn about the diverse functions of the bluetronix editor. Discover how to edit texts, tables, colors, links, and backgrounds, use AI for text optimization, and professionally structure your content.
Overview of the editor's functions
In this tutorial, you will learn about all the important functions of the editor and how to easily edit texts, images, tables, and layouts.
Edit and insert texts
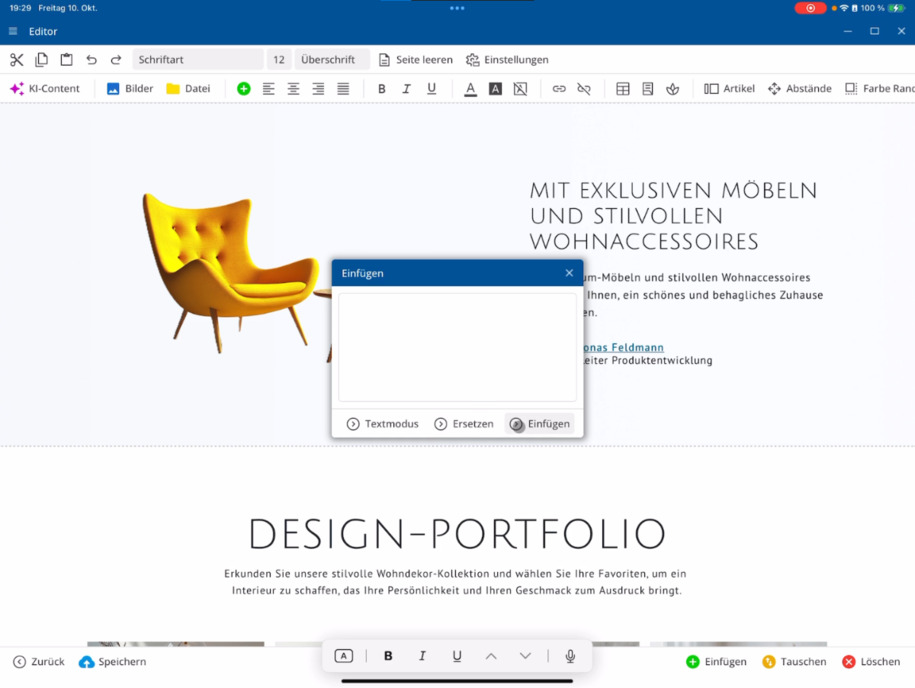
Start the editor and use the typical text functions in the top left: cut, copy, and paste. When pasting, you have several options—such as formatted texts from Word or Excel as well as content from other websites in text mode. The editor automatically adjusts it to your website's layout.
You can directly replace marked texts in place or newly insert them below the input field—whichever is faster for you.
Text formatting and page settings
You have functions such as font, font size, and headings available. If you want to start completely anew, you can also clear the page. The Page settings can be found in the menu ⯈ where there is a separate video that explains the functions in detail.

Artificial intelligence in the editor
With the AI feature, you can automatically revise your texts or have new content created. The AI helps you generate headings, optimize texts, or expand topic areas. You set the style and word count and then insert the texts directly.
There is a dedicated video about artificial intelligence that shows you all the options.
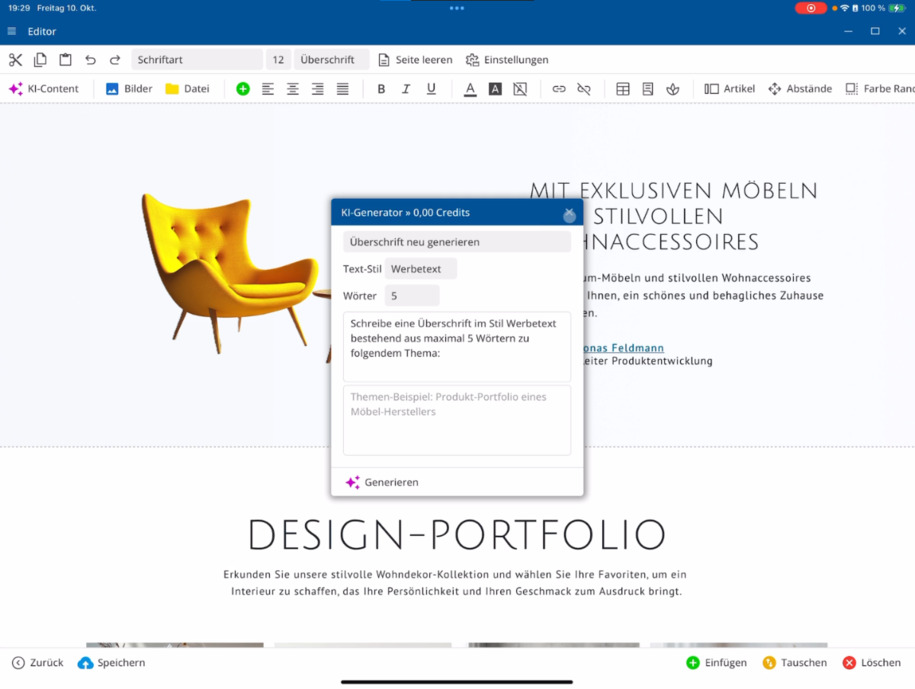
Image and document management
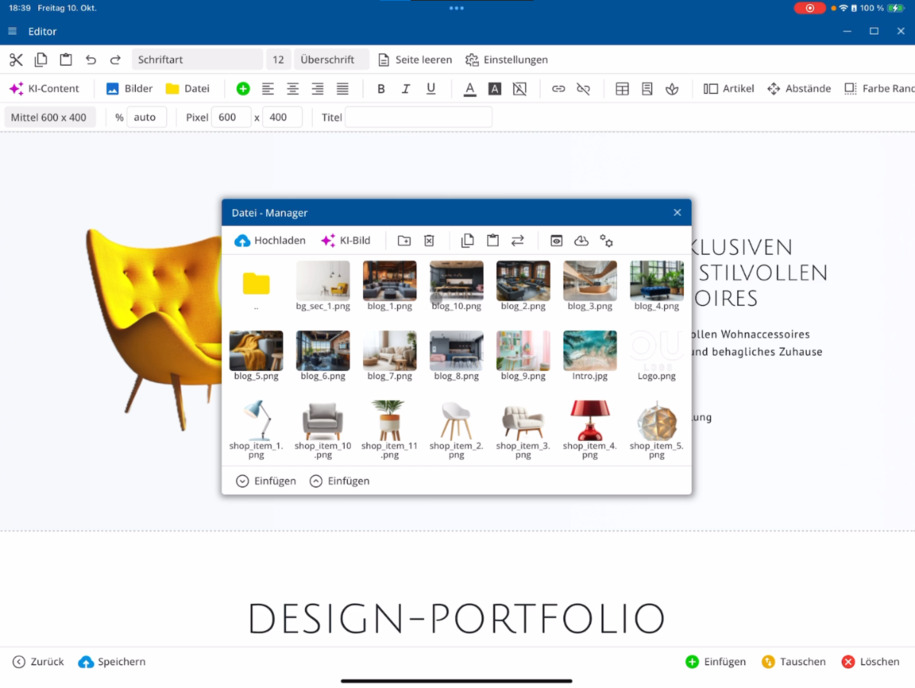
In the image management section, you can upload images directly from your device and transfer them to your project. The document management is also ready – here you can upload PDF, ZIP, Excel, or Word files. The file manager is explained in detail in a separate video.
Paragraphs and text formatting
The green plus symbol means: You can insert a new paragraph anywhere in the editor – at any position or directly under an image. Additionally, you'll find features for text alignment, font formatting (bold, italic, underline), and color selection.
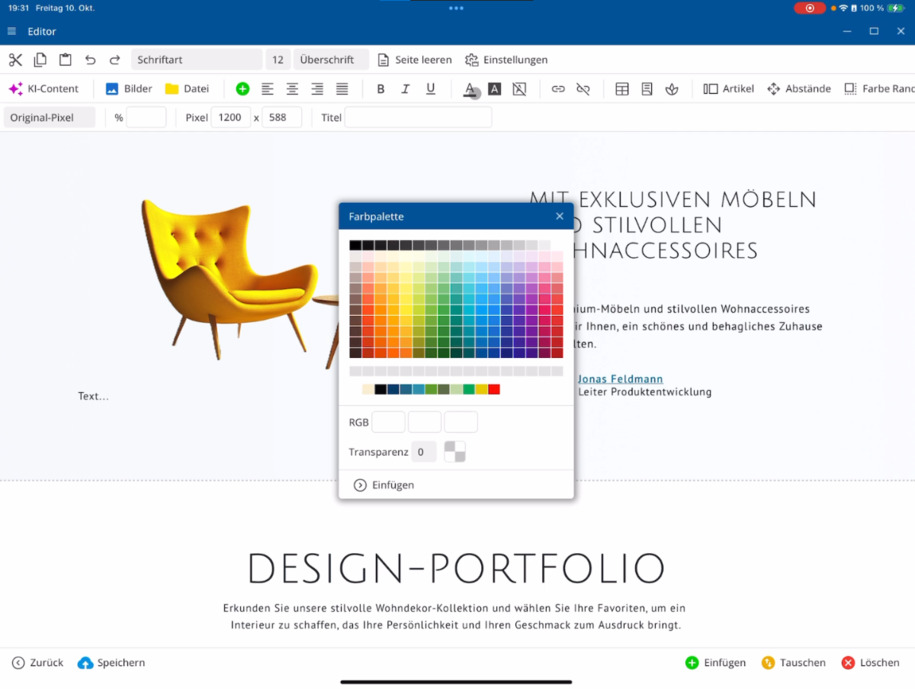
Use the color palette to adjust text colors or use your own template colors. You can set brightness and transparency and also customize the background color of your texts.
With undo, you can easily reverse changes or remove all formatting with a single click.
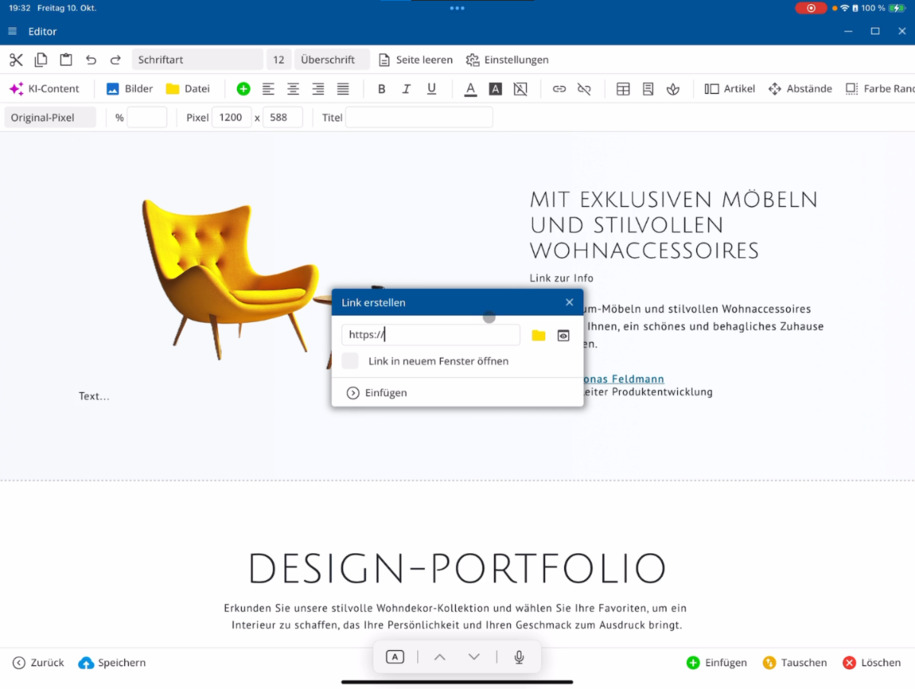
Create links
Highlight a text and click link to create a new link – either to an external website or to your file management. There you can link files or pages like "Contact". Optionally, you can view a preview and decide whether the link should open in a new window. With remove link, you can delete it again.
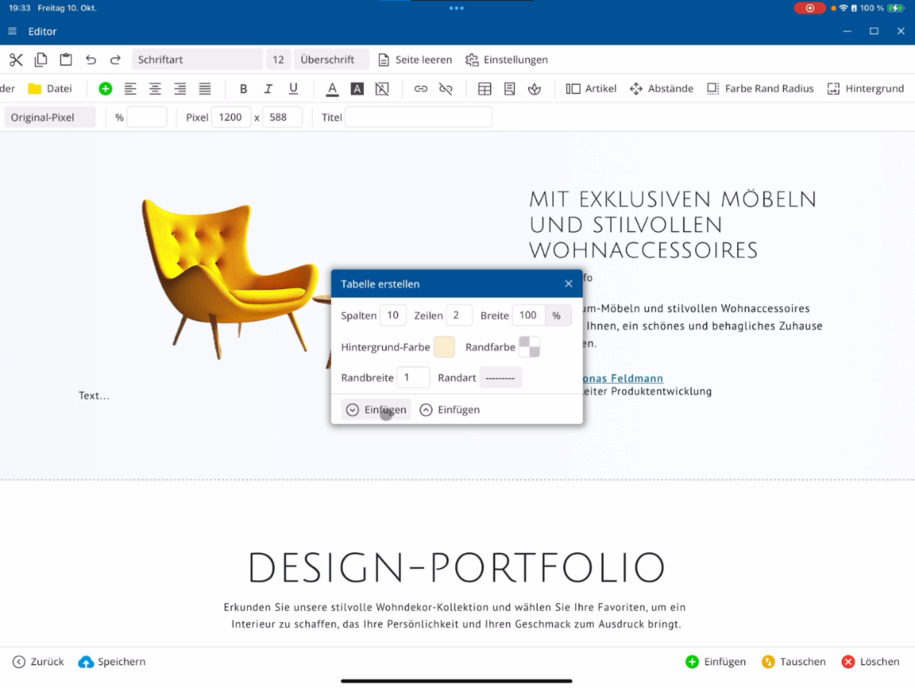
Create and edit tables
Click on table to insert a new table. Specify the number of columns and rows, background and border color, as well as border width. You decide whether the table is inserted before or after the current text block.
You can then add or delete columns and rows, adjust column widths, and define spacing. The alignment of the content can also be set.
Tip: Use tables only for tabular data, not for page layout. Dedicated page templates are available for layouts.
Icons and forms
You can insert any icons into your page. A comprehensive collection of icons is available – you can replace existing icons in templates at any time. The form section offers additional functions for creating interactive elements.
Edit articles and layouts
In the articles section, you define how individual articles are displayed and designed. Insert a page section, for example, three columns wide, and configure article width, minimum, and maximum width. You can also choose animation effects to dynamically display content.
Spacing and layout details
Define outer and inner spacing for text blocks, article columns, or entire sections. Choose specific spacing for the top, bottom, left, or right and flexibly adjust the structure of your layout.
Color, border, and radius
Through color border radius, you can define background colors for individual articles or entire sections – for example, an orange shade with a gradient. Set borders, determine their width, and add rounded corners if needed. Transparent variants are also possible.
The focus is on functionality – it doesn't have to be visually perfect.
Designing backgrounds
In the background section, you choose whether you want to set a background for a page section, an article column, or individual text blocks. Upload a background image and determine whether it should be repeated or fixed. You can precisely set positions, spacing, and widths using percentage values.
This gives you full control over the design and layout of your page directly in the editor.
FAQ
what customers often ask us
How do I start the editor?
Start the editor via the bar ⯈ open editor. In the top left, you will find classic text functions: cut, copy, and paste. This allows you to start editing right away.
How do I insert texts from Word or Excel?
When pasting, use the option for formatted texts. The editor automatically takes content from Word, Excel, or websites in the appropriate layout for your page.
How can I change font, size, and headings?
You will find text formatting in the top bar. There you can adjust font, font size, and heading levels or completely restart with clear page.
How does the artificial intelligence work in the editor?
With the AI function, you can automatically revise or regenerate texts. Set style, word count, and topic direction – the AI creates new headings or optimized text suggestions from this.
Where can I find the image and document management?
In the bar ⯈ Image Management you can upload images from your computer. In the ⯈ Document Management you can upload PDF, ZIP, Excel, or Word files.
What does the green plus symbol mean?
With the green plus you can insert new paragraphs anywhere in the editor – exactly where you are currently located or directly below an image.
How can I style text colors?
Under the color palette, you can select text and background colors. You can also adjust brightness and transparency and use your page template colors.
How do I insert a link?
Highlight the desired text ⯈ click on Link ⯈ select the target page or file. You can decide whether the link opens in a new window. Use Remove Link to delete it.
How do I insert tables?
Click on Table ⯈ set columns and rows ⯈ define background and border colors. After that, you can adjust columns, rows, and spacing as needed.
How do I insert icons?
Go to ⯈ Icons. There you will find a comprehensive collection. You can add new icons or replace existing ones from templates.
What can I configure in the articles section?
In the ⯈ Articles section, you determine the width, spacing, effects, and animations of individual articles. This allows you to flexibly adapt layout and presentation.
How do I change spacing in my layout?
Select a text block or article section ⯈ go to Spacing ⯈ set outer or inner spacing specifically for top, bottom, left, or right.
How can I adjust colors, borders, and corners?
Under Color Border Radius you can specify background colors, gradients, borders, and roundness. Transparent variants are also possible.
How do I add a background image?
Go to Background ⯈ select the page section or article column ⯈ upload an image. You can determine whether it repeats and adjust spacing or positions in percentage values.
Can I undo changes?
Yes. With the Undo function, you can easily reset individual editing steps or complete formatting.