

Images in the bluetronix editor – formats, sizes, and design explained simply
In this tutorial, you will learn how to work with images in the bluetronix editor: inserting, replacing, scaling, and styling images. This way, you can perfectly adjust format, size, margin, and corners to your website layout.
Adjusting images in the editor
Start the editor and open the Image Menu Bar. By default, the format is set to landscape. You can easily change it to portrait format. The size is automatically calculated by the system, but you can also adjust it manually.
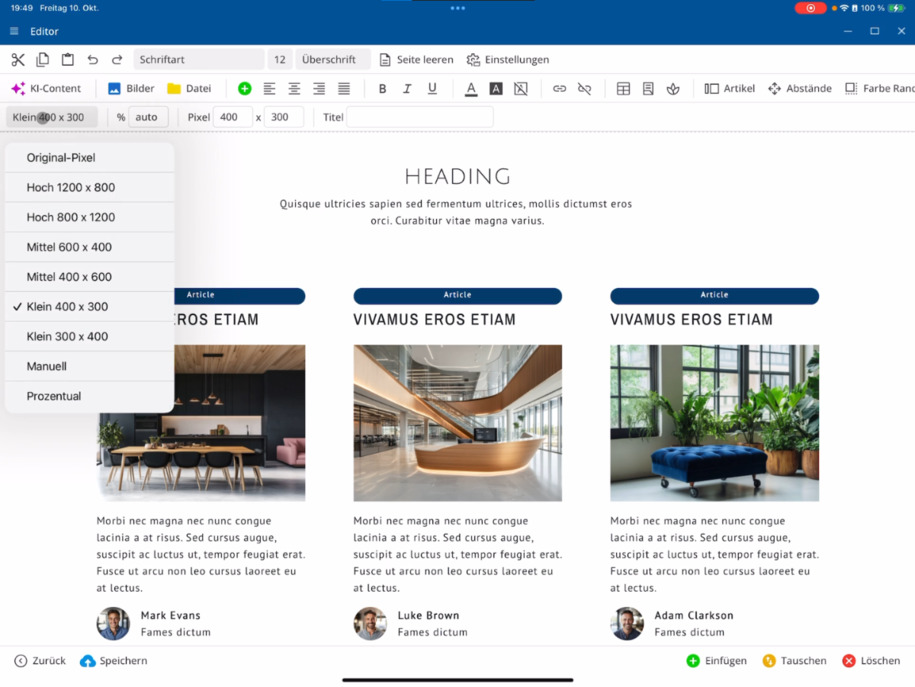
To do this, select Manual, enter your desired pixel values, and create square images, for example. Enter the values for X and Y directly.
Set the title and size of the image
Assign a suitable title for each image – this is important for search engines. Also, specify the image width in percent. For example, in the article column, you can set it to 50%, enlarge it to 100%, or reset it to 80%.
Swap Images
To replace an image, click on the desired image ⯈ open the Image Management ⯈ and select an already uploaded image. Alternatively, you can upload a file from your local system or use the camera.
To swap two images: First, click on image one, then on image two, and select Swap in the bottom right. The Image block works the same way as the Heading block.
Insert New Images
Go to your paragraph ⯈ select Images ⯈ and insert a new image. Decide whether the image should be inserted above or below the selected paragraph.
Then click on the image and set the spacing above and below – for example, three units above and three or four units below.
Design Images with Rounded Corners and Borders
For rounded corners: Select the desired image ⯈ open the Color, Border, Radius menu bar ⯈ and set the radius to, for example, nine. This will give the image rounded corners.
Make sure you are editing the Image Block and not the article column. Check the top left to ensure that Block is activated.
You can then further format the image block – choose a border, a border color, or a background color to visually highlight your image.
These functions help you design images flexibly and precisely in the bluetronix editor – from format and size to style and position.
FAQ
what customers often ask us
How can I change the format of an image in the editor?
Start the editor and open the Image Menu Bar. The default format is landscape. To change it, simply select Portrait or set the format manually by entering pixel values for X and Y – this way, you can create square images.
How do I set the image size and title?
Assign each image a Title since it is relevant for search engines. Then set the Image Width as a percentage – for example, 50% in the article column, 100% for full width, or 80% for a balanced display.
How can I swap an image?
Click on the desired image ⯈ open the Image Management ⯈ and select an already uploaded image or upload a new file from your system. Alternatively, you can also use the camera. To swap two images, select them one after the other and choose Swap in the bottom right.
How do I insert a new image into a paragraph?
Go to your paragraph ⯈ select Images ⯈ and insert an image. Decide whether it should appear above or below the paragraph. After that, you can adjust the Spacing via the top bar, for example, three units above and four units below.
How can I create images with rounded corners?
Select the desired image ⯈ open the Color, Border, Radius menu bar ⯈ and set the radius, e.g., to 9, to create rounded corners. You can also set borders and border colors to refine your design.
What should I consider when editing an image block?
Make sure you are actually editing the Image Element and not the article column. Check the upper left to ensure that Element is activated. After that, you can individually format and adjust the image element.